Pillow模块的使用
1 | from PIL import Image, ImageColor, ImageFilter,ImageDraw,ImageFont |
Output Content:
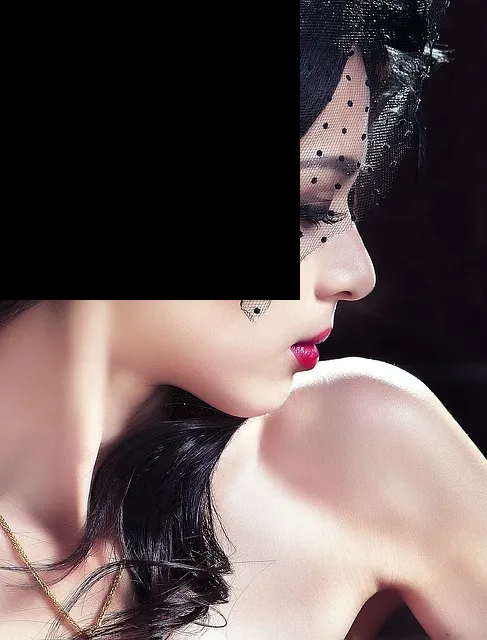
打开图片文件
Image.open(webpfile)
1 | im = Image.open("test.webp") |
Output Content:

图片属性
1 | im.filename # 'test.webp' |
Output Content:
'test.webp'

(487, 640)

'RGB'

<bound method Image.getbands of <PIL.JpegImagePlugin.JpegImageFile image mode=RGB size=487x640 at 0x7F067F5A3150>>

'JPEG'

{'jfif': 257, 'jfif_version': (1, 1), 'jfif_unit': 0, 'jfif_density': (1, 1)}

0

487

640
图片尺寸
1 | # im.size返回的是一个元组,包含尺寸的width,height |
Output Content:
(487, 640)

(487, 640)

(487, 640)

113104
RGB通道的图片
分离通道
1 | # img.split() 返回三元素的元组,各元素就是三个通道的单通道图片 |
Output Content:
(<PIL.Image.Image image mode=L size=487x640>,
 <PIL.Image.Image image mode=L size=487x640>,
 <PIL.Image.Image image mode=L size=487x640>)

<class 'PIL.JpegImagePlugin.JpegImageFile'> <class 'str'>

(<PIL.Image.Image image mode=L size=487x640>,
 <PIL.Image.Image image mode=L size=487x640>,
 <PIL.Image.Image image mode=L size=487x640>)
保存单通道的图片
1 | Output Content: |
Output Content:
1 | # rgb通道分离后, 返回一个元组,分别代表r,g,b |
Output Content:

缩放图片尺寸
Image.thumbnail(size, resample=None)
- size: 缩略图尺寸,是一个二元元组,形如(width, height)w,h都不应超过源图片尺寸。等比缩放图片。
- resample: 样例率算法。可以是下列之一,分别对应不同的样例率算法
resize() 和 thumbnail() 方法的区别
- resize()方法可以缩小也可以放大,而thumbnail()方法只能缩小;
- resize()方法不会改变原来对象的大小,只会返回一个新的Image对象
- thumbnail()方法会直接改变对象的大小,返回值为none;
- resize()方法中的size参数直接规定了修改后的大小;
- thumbnail()方法按比例缩小,size参数只规定修改后size的最大值。
1 | im =Image.open('test.webp') |
Output Content:
(487, 640)

(<PIL.JpegImagePlugin.JpegImageFile image mode=RGB size=400x526>, (400, 526))

(<PIL.JpegImagePlugin.JpegImageFile image mode=RGB size=200x263>, (200, 263))

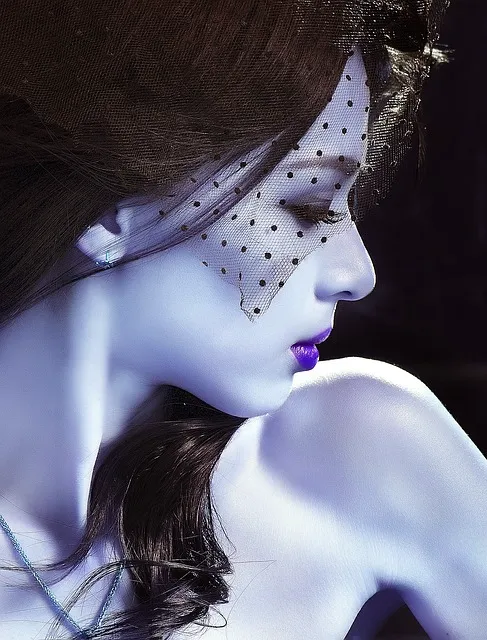
合并通道
- Image.merge(mode, bands)
- 参数说明如下:-
- mode:指定输出图片的模式
- bands:参数类型为元组或者列表序列,其元素值是组成图像的颜色通道,比如 RGB 分别代表三种颜色通道,可以表示为 (r,g,b)。
- 注意,该函数会返回一个新的 Image 对象。
单张图片的通道合成
1 | img = Image.open('test.webp') |
Output Content:


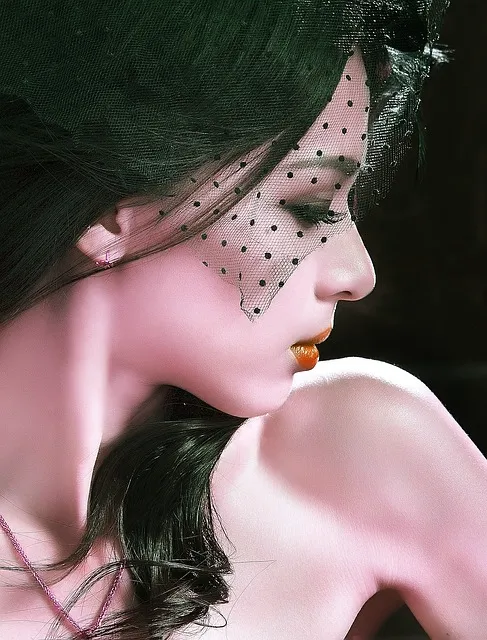
两张图片的通道合成
要求两张图片的模式、图像大小必须要保持一致,否则不能合并
1 | img = Image.open("test.webp") |
Output Content:
(400, 526) (400, 526)
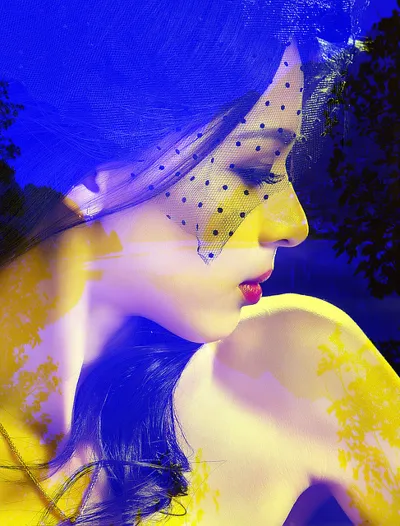
blend() 混合图片
- blend() 方法来混合 RGBA 模式的图片(PNG 格式),函数的语法格式如下:
Image.blend(image1,image2, alpha)- 参数说明如下:
- image1,image2:表示两个 Image 对象。
- alpha:表示透明度,取值范围为 0 到 1.
- 当取值为 0 时,输出图像相当于 image1 的拷贝,
- 而取值为 1 时,则是 image2 的拷贝,
- 只有当取值为 0.5 时,才为两个图像的中合。因此改值的大小决定了两个图像的混合程度。
- 与 RGB 模式相比,RGBA 在 RGB 的基础上增加了透明度,通过 Alpha 取值来决定两个图像的混合程度。
1 | im1 = Image.open("test.webp") |
Output Content:
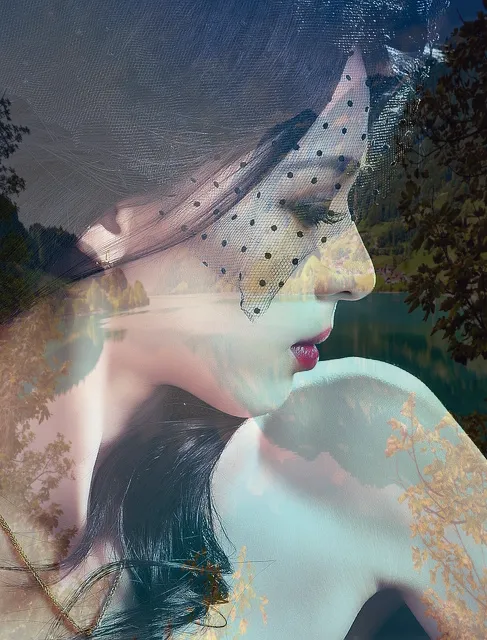

composite 混合图片
通过使用透明蒙版混合图像来创建合成图像
Image.composite(im2, im1, im2)
参数
- im1 – 第一张图片。。
- im2 – 第二张图片。必须是RGBA
1 | # 打开两张图片 |
Output Content:
更改图片尺寸
- 可以放大可以缩小
- resize()函数讲解
- 函数img.resize((width, height),Image.ANTIALIAS)
- 第二个参数:
Image.NEAREST :低质量
Image.BILINEAR:双线性
Image.BICUBIC :三次样条插值
Image.ANTIALIAS:高质量
- 第二个参数:
按指定的尺寸,不保持纵横比
1 | out = im.resize((300, 300)) |
Output Content:

1 | im=Image.open("test.webp") |
Output Content:

保持比例
1 | im.thumbnail((200, 800)) |
Output Content:
(200, 263)

插值
第二个参数:
- Image.NEAREST :低质量
- Image.BILINEAR:双线性
- Image.BICUBIC :三次样条插值
- Image.LANCZOS:高质量
1 | # 低质量 |
Output Content:
(487, 640)

(300, 394)

1 | # 双线性 |
Output Content:
(300, 394)

1 | # 三次样条插值 |
Output Content:
(300, 394)

1 | # 高质量 |
Output Content:
(300, 394)

图像的复制
1 | # 复制图像 |
Output Content:

1 | out = im.rotate(45) |
Output Content:
expand=True
1 | im.rotate(45, expand=True) |
Output Content:
图像的镜面翻转
- Image.FLIP_LEFT_RIGHT 水平翻转
- Image.FLIP_TOP_BOTTOM,垂直翻转
1 | im = Image.open("test.webp") |
Output Content:
获取rgb值及alpha
1 | print(ImageColor.getcolor('red', 'RGBA')) |
Output Content:
(255, 0, 0, 255)
(0, 0, 0)
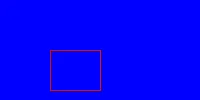
新建图像
1 | # 通常使用RGB模式就可以了 |
Output Content:


裁剪图片
1 | im=Image.open("test.webp") |
Output Content:

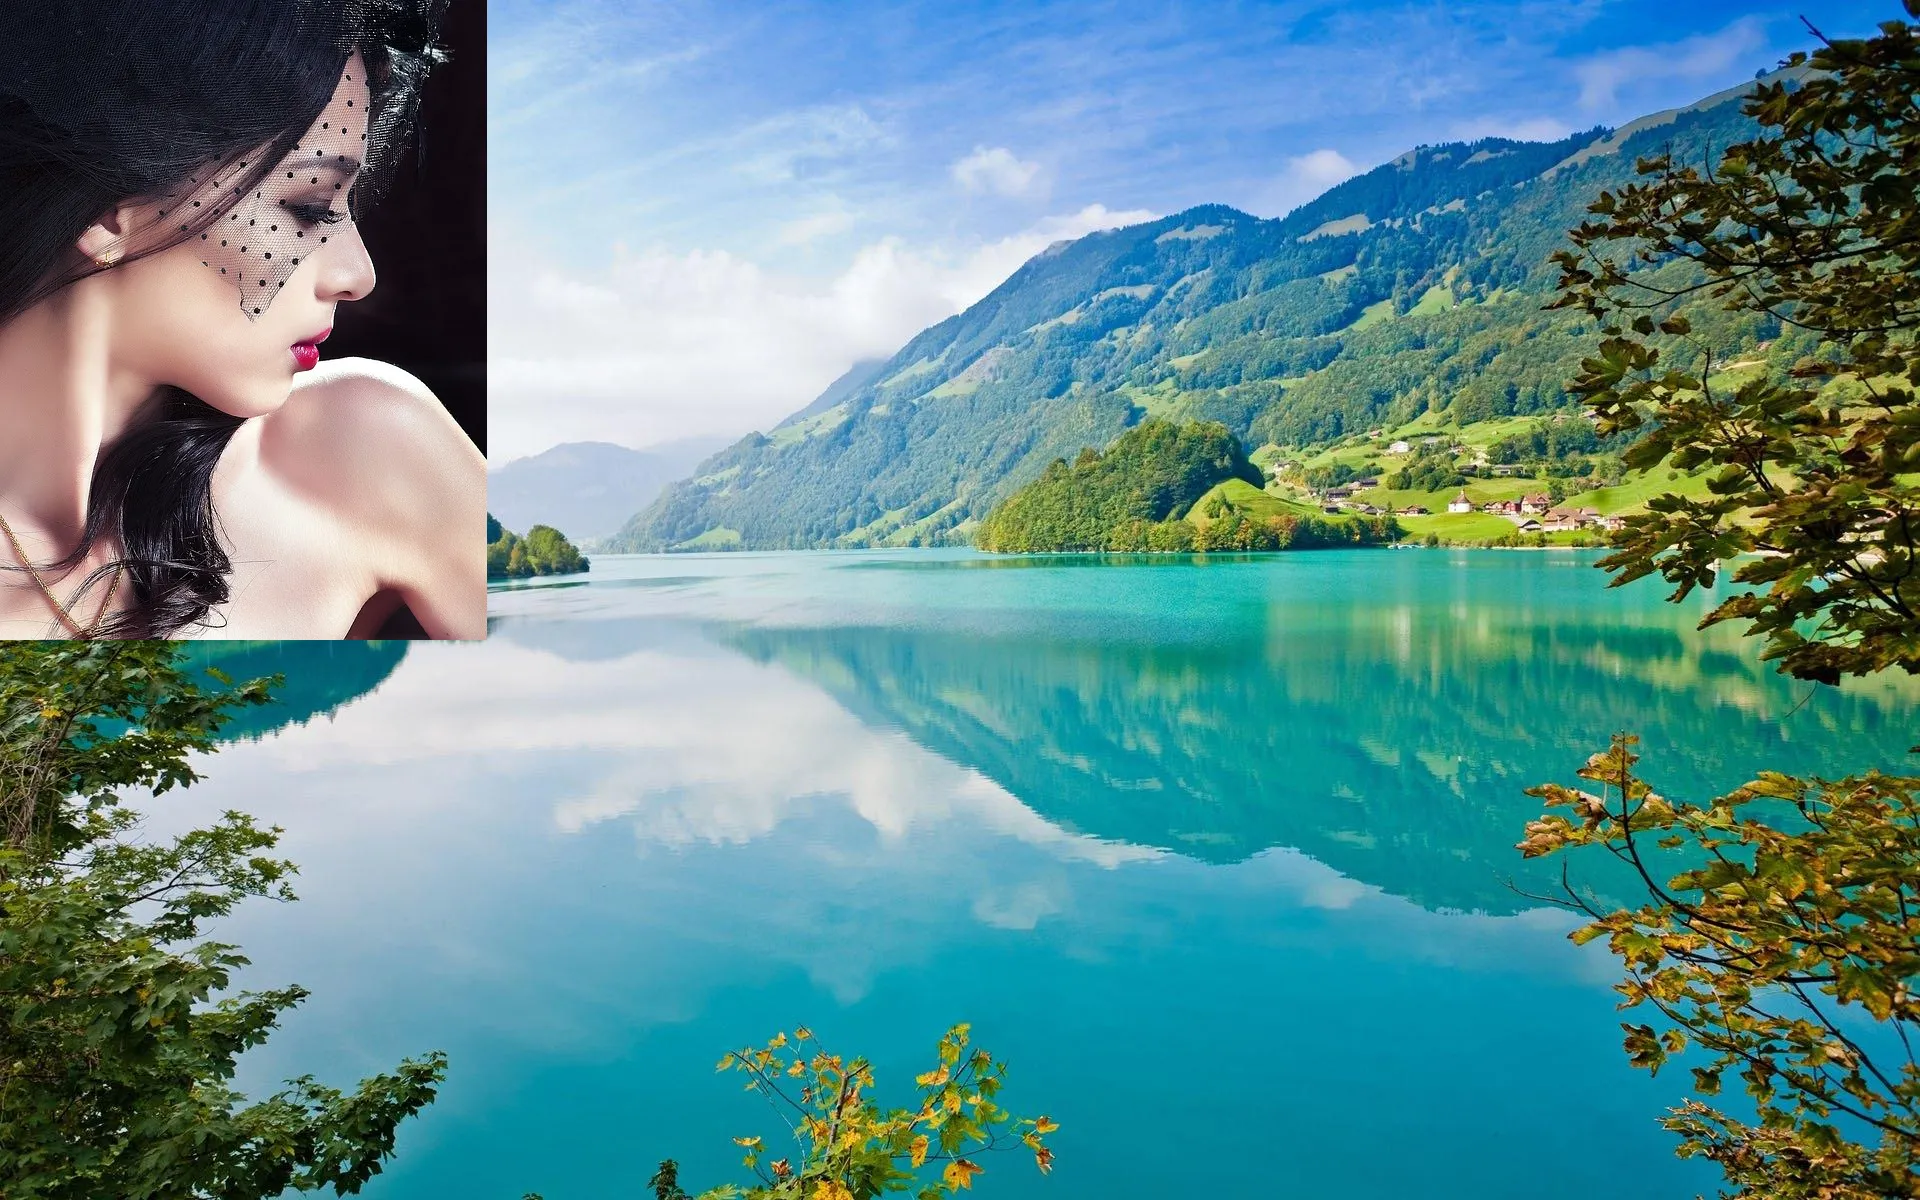
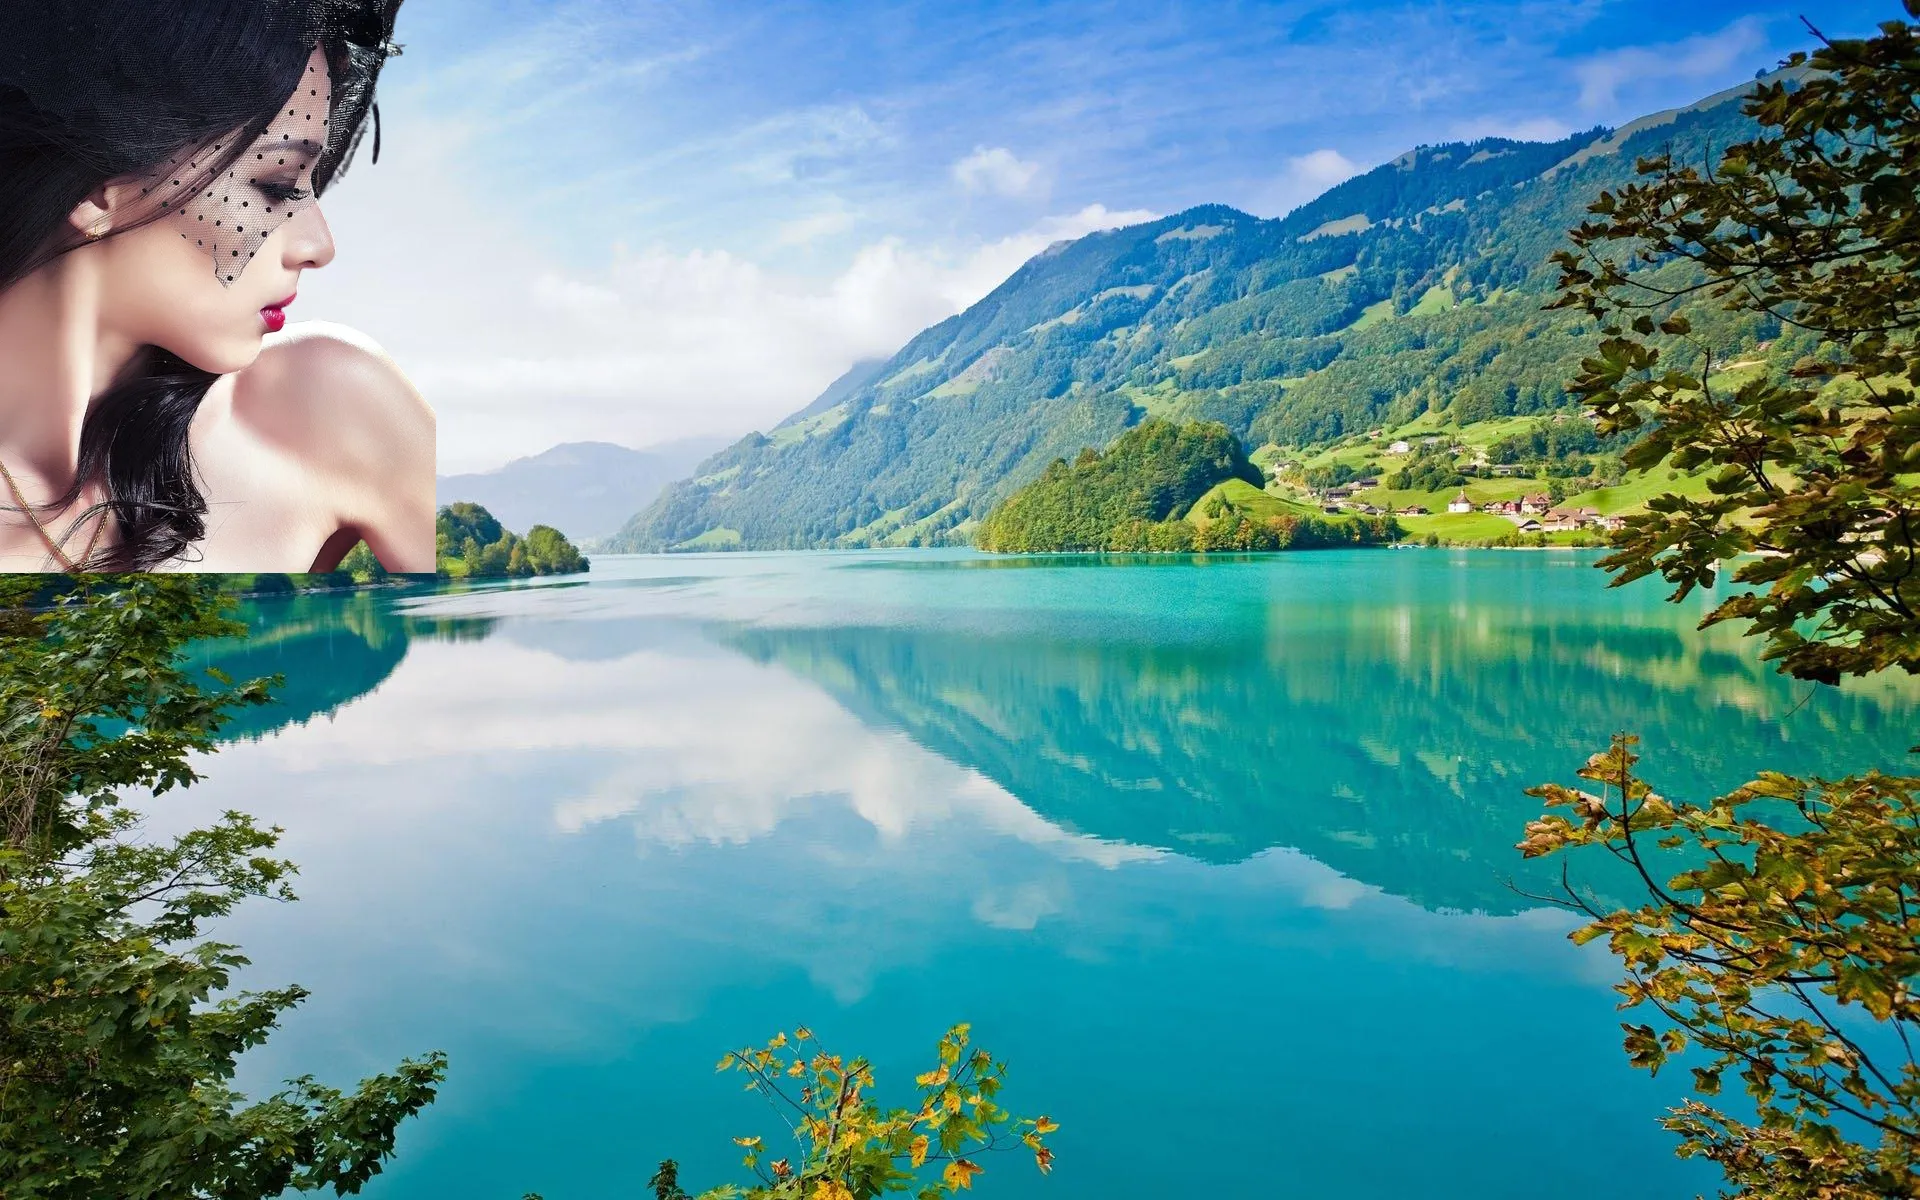
图片粘贴
1 | a = im.crop((700, 700, 1000, 1000)) |
Output Content:
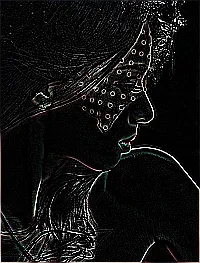
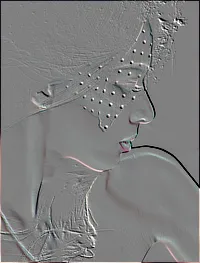
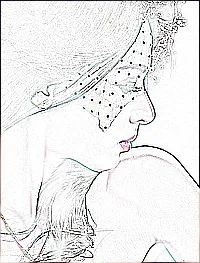
图像过滤
1 | im = Image.open("test.webp") |
Output Content:
1 | # 普通模糊 |
Output Content:

1 | # 边缘增强 |
Output Content:

1 | # 找到边缘 |
Output Content:
1 | # 浮雕 |
Output Content:
1 | # 轮廓 |
Output Content:
1 | # 锐化 |
Output Content:

1 | # 平滑 |
Output Content:

1 | # 细节 |
Output Content:

1 | from PIL import Image, ImageDraw, ImageFont |
Output Content:

1 | # 在blank_image 图像上绘图 |
Output Content:
<PIL.ImageDraw.ImageDraw at 0x7f067c1bac10>
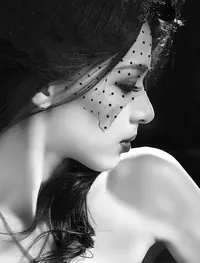
图像转换
1 | # convert()是图像实例对象的一个方法,接受一个 mode 参数,用以指定一种色彩模式 |
Output Content:
1 | # 将彩色转换成灰阶 |
Output Content:
<bound method Image.getbands of <PIL.Image.Image image mode=RGBA size=200x263 at 0x7F067F5C91D0>>

1 | Image.open('test.webp').convert("RGB").save("test.webp","WEBP") |
Output Content:
(487, 640)

113104

66374
1 | im1=Image.open("test.webp") |
Output Content:
(487, 640)

(1461, 1920)

更改图像尺寸后另存为webp
1 |
|
Output Content:
绘制文字
1 | icon = Image.new('RGBA', (50, 35),(0,0,0,180) ) |
Output Content:


1 | def creat_icon(text): |
Output Content:
1 | # 创建ICON |
Output Content:


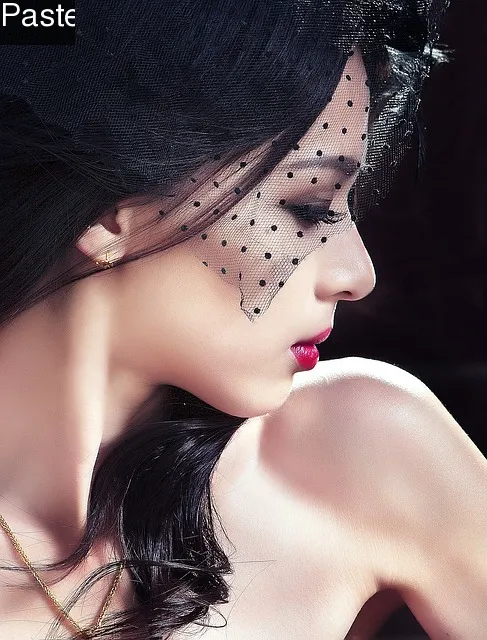
1 | # 贴图片 |
Output Content:
抠图
removebg模块
– 好像有每天不超过50张的限制
1 | # 此模块测试成功 |
Output Content:
1 |
|
Output Content: